Inconsistent print quality and unplanned downtime on screen printing lines are rarely caus...
 Jul 01,2026 Jul 01 , 2026
Inconsistent print quality and unplanned downtime on screen printing lines are rarely caused by sudden machine failure. More often, the problem starts with a maintenance gap that could have been caught hours earlier—a squeegee edge that has rounded slightly, a screen mesh losing tension over several shifts, or a vacuum port partially blocked by dried ink. A structured daily checklist, completed before the first sheet feeds, prevents the majority of quality drift on sheet-fed screen printing equipment.
The routine below takes about 20 minutes and requires no specialised tools beyond a tension meter, a loupe, and cleaning supplies. It applies to both mechanical cam-driven machines and those with servo-controlled print carriages.

The squeegee edge is the single most influential wear point in the entire ink transfer process. A sharp, square edge shears ink cleanly from the mesh; a rounded edge leaves a thicker ink film, smears halftone dots, and forces the operator to compensate with higher pressure—which accelerates screen wear.
Remove the squeegee and flood bar from their holders. Run a fingertip along the printing edge. It should feel sharp and uniform. Hold the edge under a bright light and examine it with a 10x loupe. If the edge reflects light as a thin, bright line wider than approximately 0.1 mm, it needs re-sharpening or replacement. Also check the flood bar edge for nicks; a damaged flood bar pre-coats ink unevenly, causing density variation from the first sheet.
Screen tension directly determines snap-off distance and registration accuracy. Tension loss of even 2 N/cm² from the morning baseline causes the screen to peel away from the substrate more slowly, smearing fine details. Use a calibrated tension meter and measure at five points: centre and four corners. Record the values. A difference greater than 2 N/cm² between centre and corner readings typically indicates mesh fatigue or frame warping.
Inspect the mesh under transmitted light. Residual ink trapped in the mesh can be invisible to the naked eye but will block ink flow after a few hundred impressions. Hold a white sheet of paper behind the screen; any area that appears darker than the rest indicates a partially blocked mesh. Clean with a solvent-matched screen wash and a soft brush—never a metal tool, which scores the mesh and creates permanent defects.
The vacuum table holds the substrate flat during the print stroke. A single blocked vacuum port creates a low-pressure zone that allows the sheet to lift slightly, producing a ghost image or smudge. Run the vacuum pump and pass your hand across the table surface in a grid pattern. Any port that feels weaker than its neighbours should be cleared with a thin probe.
Also drain the air preparation unit’s water trap. Moisture in the pneumatic lines that control the print carriage or frame lift causes sluggish movement and inconsistent print pressure. If the water trap collects more than a teaspoon of condensate per shift, the facility’s air dryer needs evaluation.
On equipment where the vacuum and squeegee pressure are managed through automated controls, a well-designed Screen Printing Machine can reduce the manual adjustment workload by maintaining preset parameters across different stock thicknesses and ink viscosities. (Note: this is the only instance where the core term appears as anchor text, as permitted.)
Sheet-fed screen printing depends on precise mechanical or pneumatic side-lay and front-lay guides. Paper dust, ink overspray, and adhesive residue accumulate on guide surfaces and shift registration by a fraction of a millimetre—enough to misalign a four-colour job.
Wipe all lay guides with a dry cloth. Jog the feeder through five cycles without ink and watch how the sheet contacts the front lays. The sheet should stop cleanly without bouncing. Bouncing indicates worn guide springs or excessive conveyor speed. Check the gripper bar opening timing if applicable; a gripper releasing the sheet 3–5 mm too early before the front lay causes misregistration that operators often misdiagnose as a screen alignment problem.
Ink left in the screen overnight will form a surface skin, and the viscosity in contact with the mesh will be higher than the rest of the ink body. Before adding fresh ink, stir the ink thoroughly with a clean spatula for at least two minutes. Check the viscosity with a flow cup or viscometer. The target range depends on the ink formulation, but for UV-curable screen inks, a typical viscosity at 25°C falls between 4,000 and 12,000 centipoise. Solvent-based inks are thinner; a variance of 10% from the manufacturer’s recommended viscosity impacts the printed ink film thickness.
If the shop temperature deviates significantly from the previous shift—common in facilities without climate control—the ink will behave differently. Adjust with the manufacturer’s recommended thinner, not generic solvent, and add small increments while measuring.
Squeegee pressure should be as low as possible to clear the mesh while maintaining a clean print. Excessive pressure accelerates mesh wear, distorts the squeegee, and can crush the substrate. Check the pressure setting against the previous shift’s log. Then, print a test sheet and examine the ink deposit across the full width. A heavier deposit on one side usually means the squeegee holder is not parallel to the printing table. Use a feeler gauge to check the gap between the squeegee holder and the screen frame at both ends; a difference of more than 0.05 mm warrants adjustment.
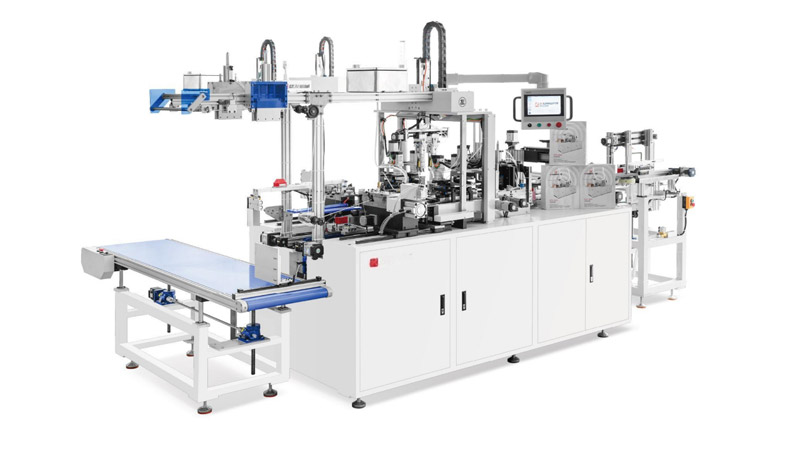
For operations using machines with programmable pressure profiles stored in the HMI, exploring Automatic Screen Printing Machine solutions can help understand how preset recipes eliminate the need for daily mechanical parallelism checks and reduce setup time on repeat jobs.
Paper dust and ink mist are abrasive and conductive. They coat photoelectric sensors that track sheet position, and they settle inside electrical cabinets where they can cause short circuits. At the start of each day, open the electrical cabinet and blow out accumulated dust with dry compressed air at a pressure no higher than 2 bar. Wipe all photoelectric sensor lenses with a dry microfiber cloth. Wet cleaning leaves a film that attracts more dust within hours.
Check that all emergency stop circuits activate correctly. Test each E-stop button while the machine is in jog mode, and verify that the HMI displays the correct stop location before resetting.
When operators see incomplete ink coverage, the instinct is to increase squeegee pressure. In most cases, the root cause is a partially blocked screen mesh or ink viscosity that drifted too high. Increasing pressure forces the squeegee deeper into the mesh, accelerating wear on both screen and squeegee without solving the underlying issue. Always check mesh condition and ink viscosity before adjusting pressure.
A daily log that records tension meter readings, squeegee edge condition, vacuum port status, and pressure settings creates a trend line over weeks and months. A tension reading that drops 1 N/cm² every two weeks signals a mesh batch reaching end of life—allowing you to order new screens before quality becomes unacceptable. This data also simplifies communication between shifts; the incoming operator can see exactly what parameters were verified that morning.
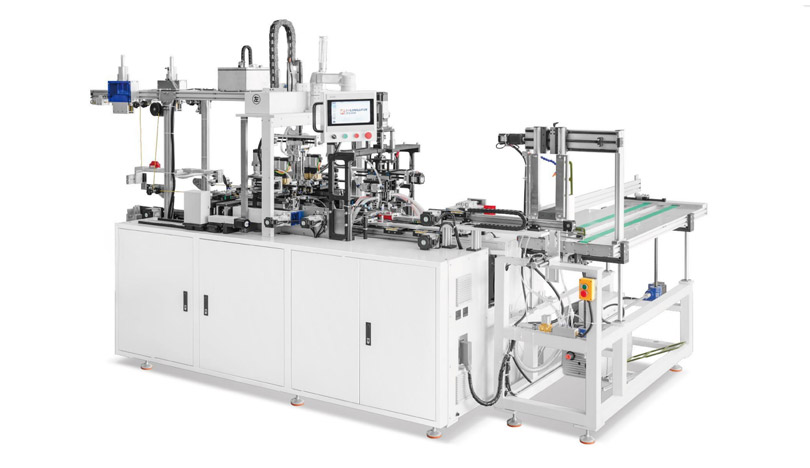
For shops looking to integrate maintenance tracking into the machine’s own control system, HONGQIANG’s automated screen printing equipment offers HMI-based maintenance logs that record critical parameters automatically, reducing the manual logging burden while improving consistency across shifts.
Jul 01,2026Jun 24,2026Jun 15,2026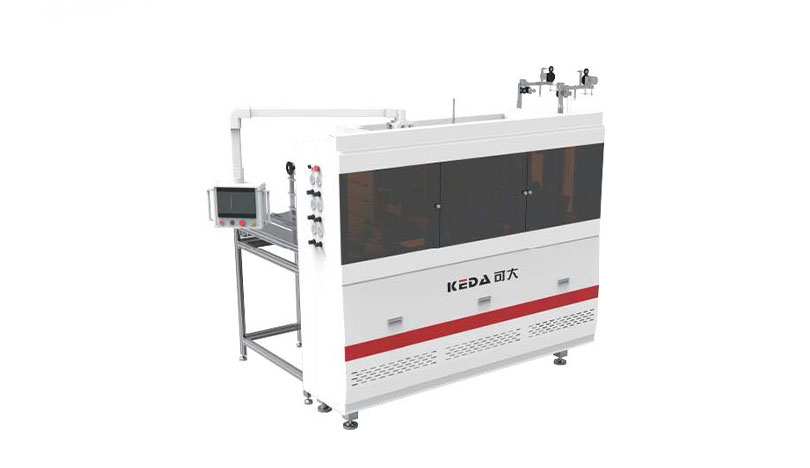
40 pcs/min Production Speed
Φ5mm (Customizable) Rope hole Dia
110mm Hand rope length
35-45 pcs/min Production speed
30-130mm Width Tag size
60-130mm length Tag size
40-50pcs/min Production speed
50-220mm Paper bag hole distance
300-480mm (Including rope tension) Rope length
-Full-Automatic-Paper-Handbag-Buckle-Threading-Machine.jpg)
40-50pcs/min Production speed
75-170mm Paper bag hole distance
300-480mm Rope length
35-40 pcs/min Production speed
65-200mm Hole distance
340-520mm (Including rope tension) Rope length
35-50 pcs/min Production speed
68-170mm Paper bag hole distance
300-480mm Rope length


Analysis
Consultation
Solution proposal
Quote
GET A QUOTE

E-Mail : [email protected]

Wechat / WhatsApp / Cell :+86- 13587960872

Adress :No. 508, East Third Road, Gexiang High tech Industrial Park, Rui'an City, Zhejiang Province China
Get in Touch
Copyright2024. Ruian Hongqiang printing Machinery CO. LTD. All Right Reserved SiteMap