Inconsistent print quality and unplanned downtime on screen printing lines are rarely caus...
 Jul 01,2026 May 30 , 2025
Bubbles in film lamination are a common yet frustrating issue in automatic film laminating machines. These defects compromise product quality, reduce efficiency, and lead to material waste. To troubleshoot them effectively, we must first understand their root causes.

Industry studies show that bubble-related defects account for ~15% of all laminating machine downtime (Packaging Digest, 2023). These issues lead to:
✔ Increased scrap rates (~5-8% material loss)
✔ Reduced machine throughput
✔ Higher maintenance costs
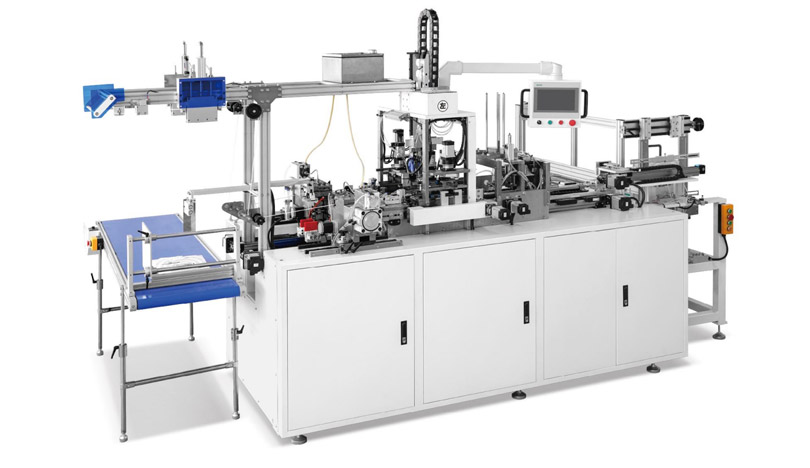
Modern automatic film laminating machines integrate advanced features to minimize bubble formation:
✅ Ensure humidity levels are 45±5% RH
✅ Preheat substrates to 30-40°C for thermal stability
✅ Clean rollers and remove adhesive residues
Q: Can bubbles be fixed after lamination?
A: Only minor bubbles can be repaired with a heat gun; major ones require stripping and relamination.
Q: What’s the ideal laminating speed?
A: 5-15 m/min, depending on adhesive curing time.
Q: How often should I calibrate my Full Auto Film Laminator?
A: Monthly checks are recommended for high-precision work.
Key Takeaways for Bubble-Free Lamination:
✔ Optimize temperature, pressure, and tension settings.
✔ Regularly maintain machine components.
✔ Invest in real-time monitoring tools for early detection.
By following these guidelines, manufacturers can achieve >95% defect-free lamination with automatic film laminating machines, improving productivity and reducing waste.
For a downloadable troubleshooting checklist, visit www.chinahongqiangjixie.com
Tags: film laminator maintenance, how to prevent lamination bubbles, best laminating machine settings, pressure-sensitive film problems, adhesive bonding solutions
Jul 01,2026Jun 24,2026Jun 15,2026
40 pcs/min Production Speed
Φ5mm (Customizable) Rope hole Dia
110mm Hand rope length
35-45 pcs/min Production speed
30-130mm Width Tag size
60-130mm length Tag size
40-50pcs/min Production speed
50-220mm Paper bag hole distance
300-480mm (Including rope tension) Rope length
-Full-Automatic-Paper-Handbag-Buckle-Threading-Machine.jpg)
40-50pcs/min Production speed
75-170mm Paper bag hole distance
300-480mm Rope length
35-40 pcs/min Production speed
65-200mm Hole distance
340-520mm (Including rope tension) Rope length
35-50 pcs/min Production speed
68-170mm Paper bag hole distance
300-480mm Rope length


Analysis
Consultation
Solution proposal
Quote
GET A QUOTE

E-Mail : [email protected]

Wechat / WhatsApp / Cell :+86- 13587960872

Adress :No. 508, East Third Road, Gexiang High tech Industrial Park, Rui'an City, Zhejiang Province China
Get in Touch
Copyright2024. Ruian Hongqiang printing Machinery CO. LTD. All Right Reserved SiteMap